Drawing for my “Boston Edison” design.
Looking for something special to hang above your dining room table? This post is about the custom chandeliers I have made over the past few years.
Considering how many lights I’ve made recently, it’s surprising even to me how few of them are chandeliers. “Multi-bulb hanging lights,” is what I prefer to call them. “Chandelier” is too old-fashioned. The word itself is gaudy, dripping with phonetic crystals. It is however a little more economic and less technical than “multi-bulb hanging lights,” so I guess I’ll stick with it for this post.
I have beaten the garbage man to more than one curbside chandelier in my day, and most of those pieces I dismantled and scavenged for parts. Ironically, none of the custom chandeliers I have built actually incorporate any of those parts. The problem with accumulating scavenged parts is that it can lead to endless tinkering. And there’s a fine line between useful, creative design work and tinkering a good idea into oblivion. I usually spend way more time designing the structural support, the bones of the piece than I spend making what I consider the more beautiful parts. That’s probably the reason I don’t spend a lot of time chasing chandelier business. It’s too difficult to determine how long they will take for me to build, and I end up pricing them too low.
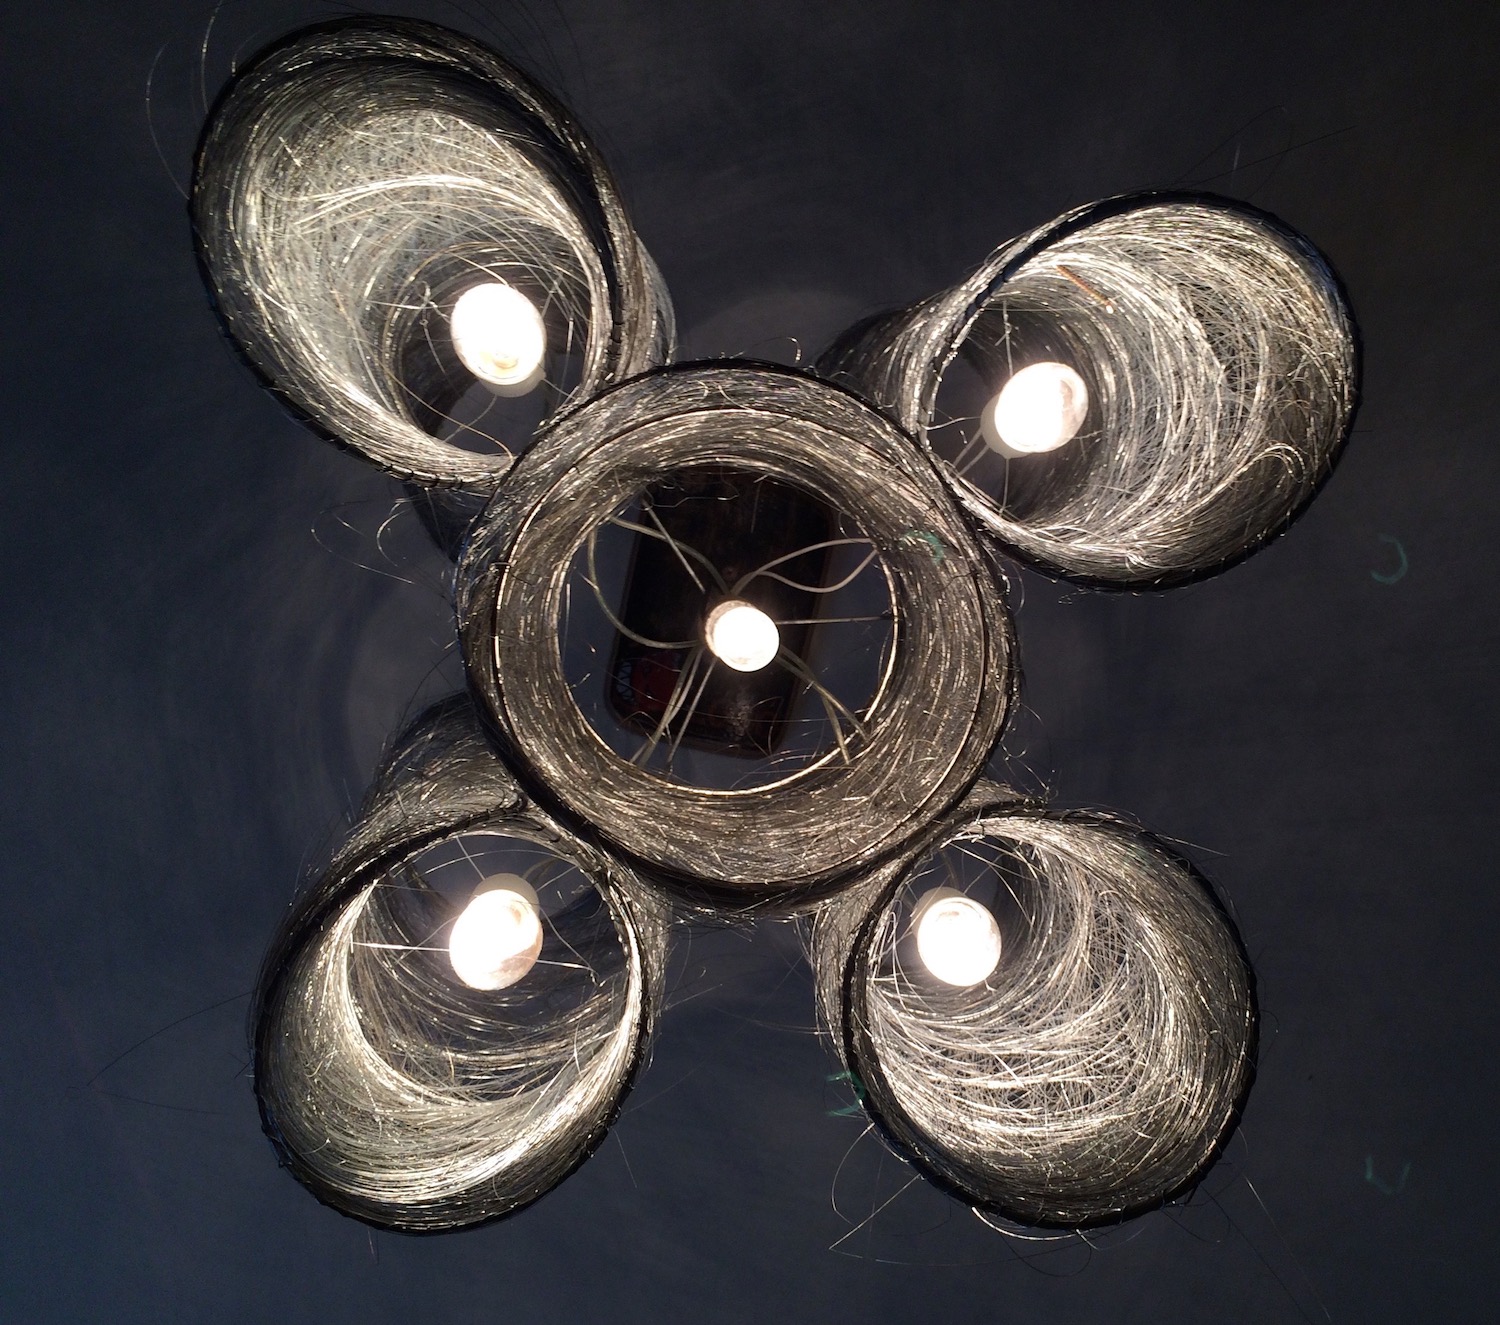
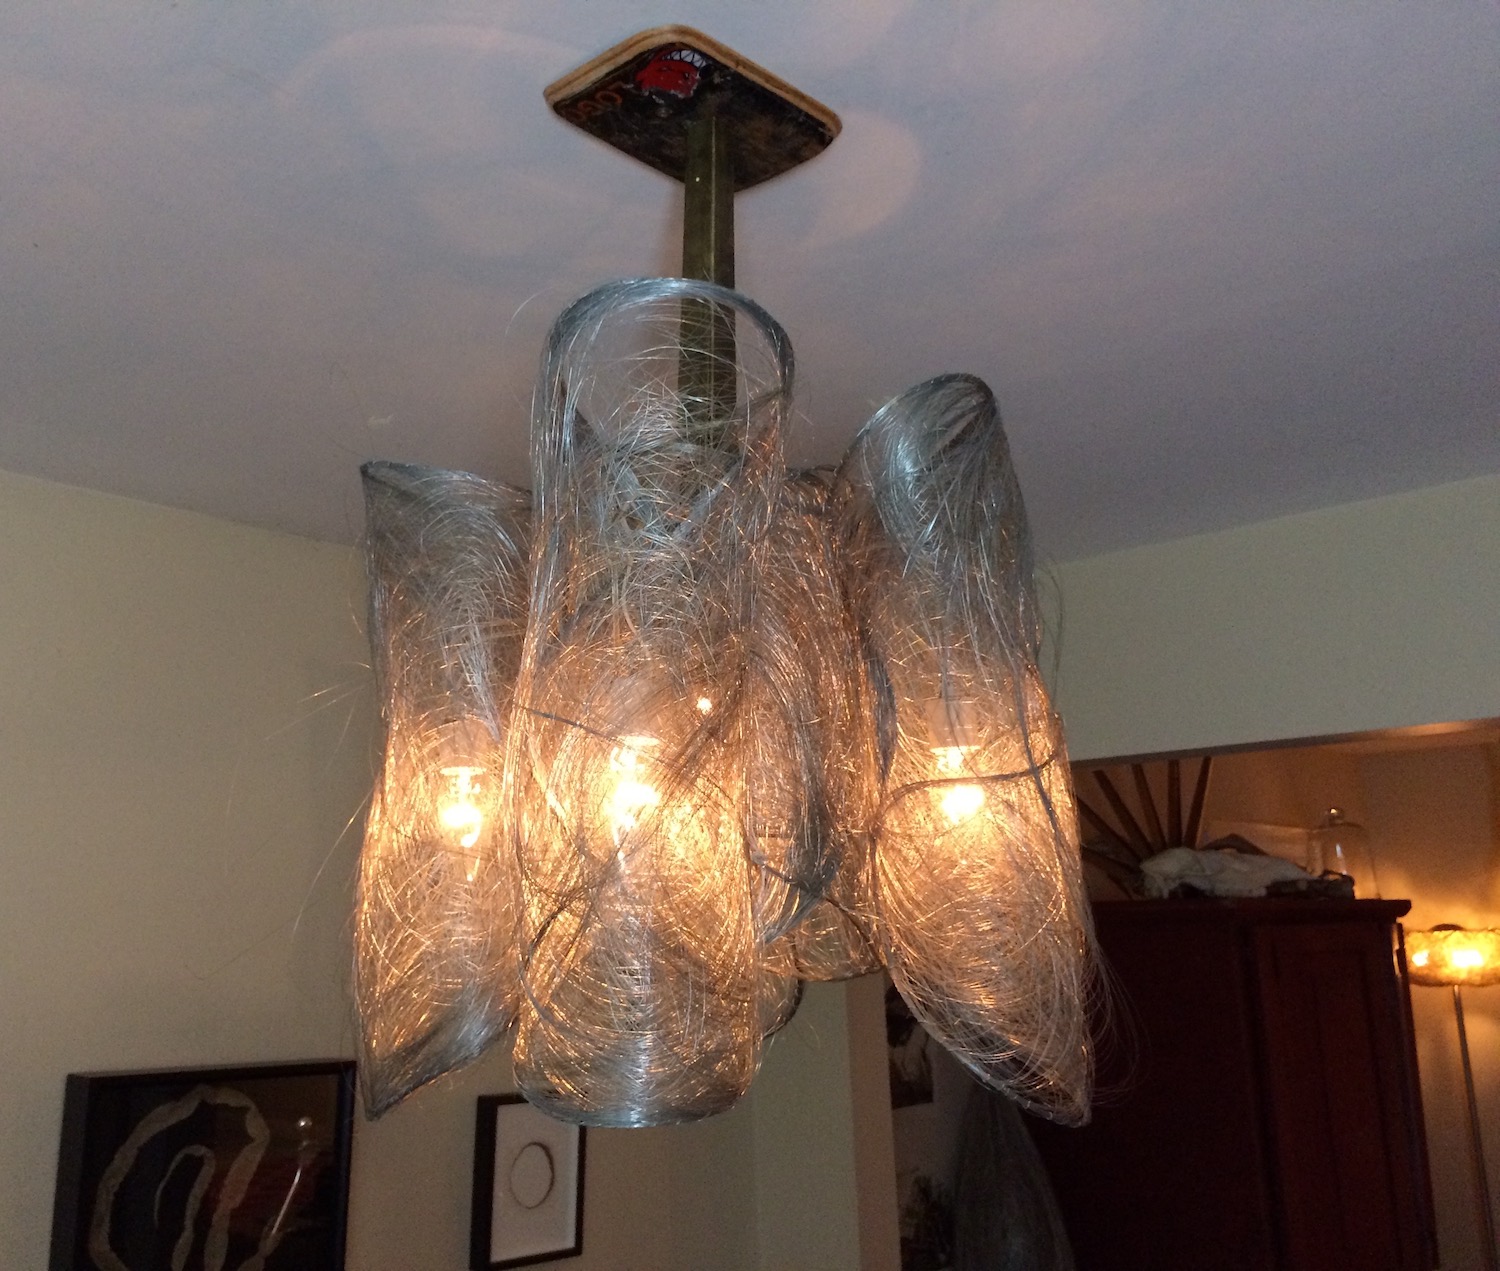
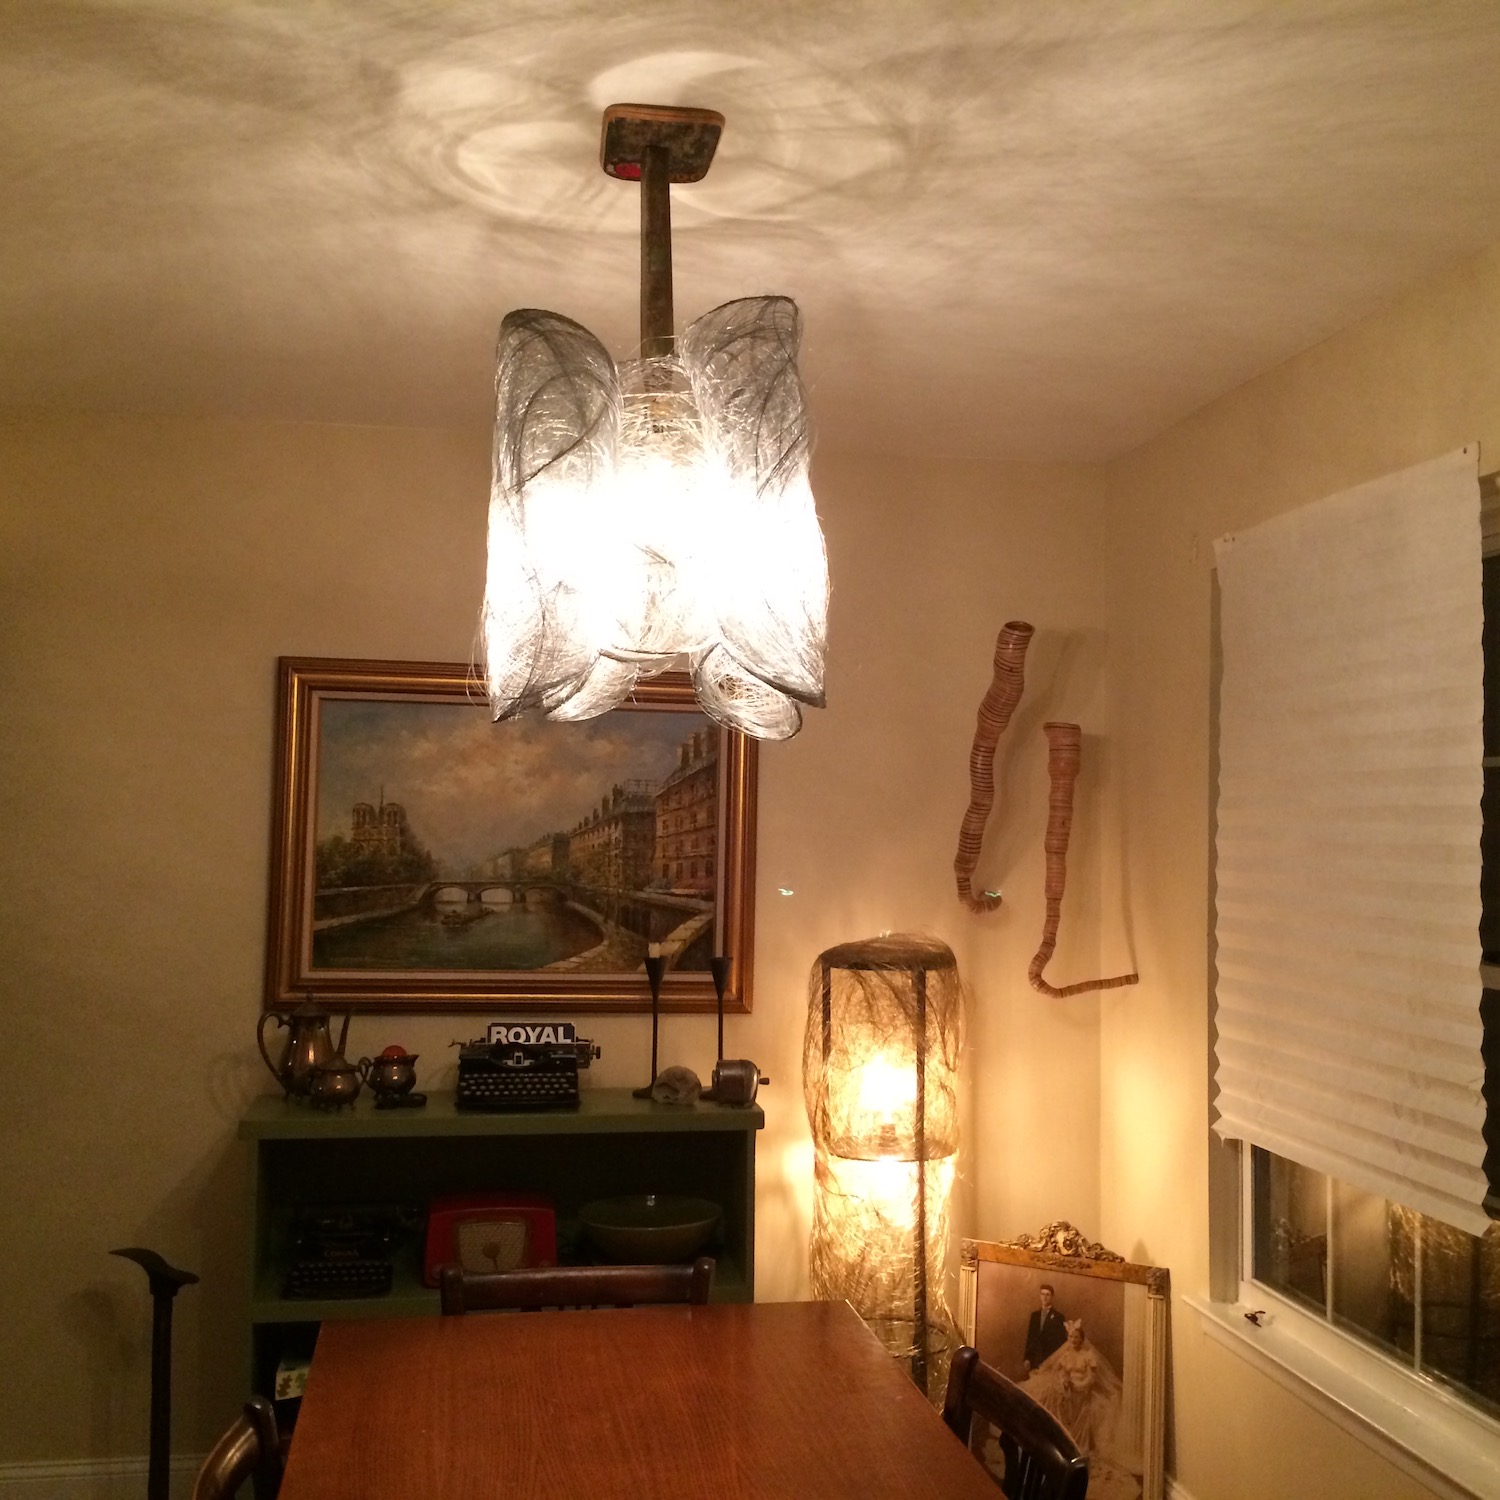
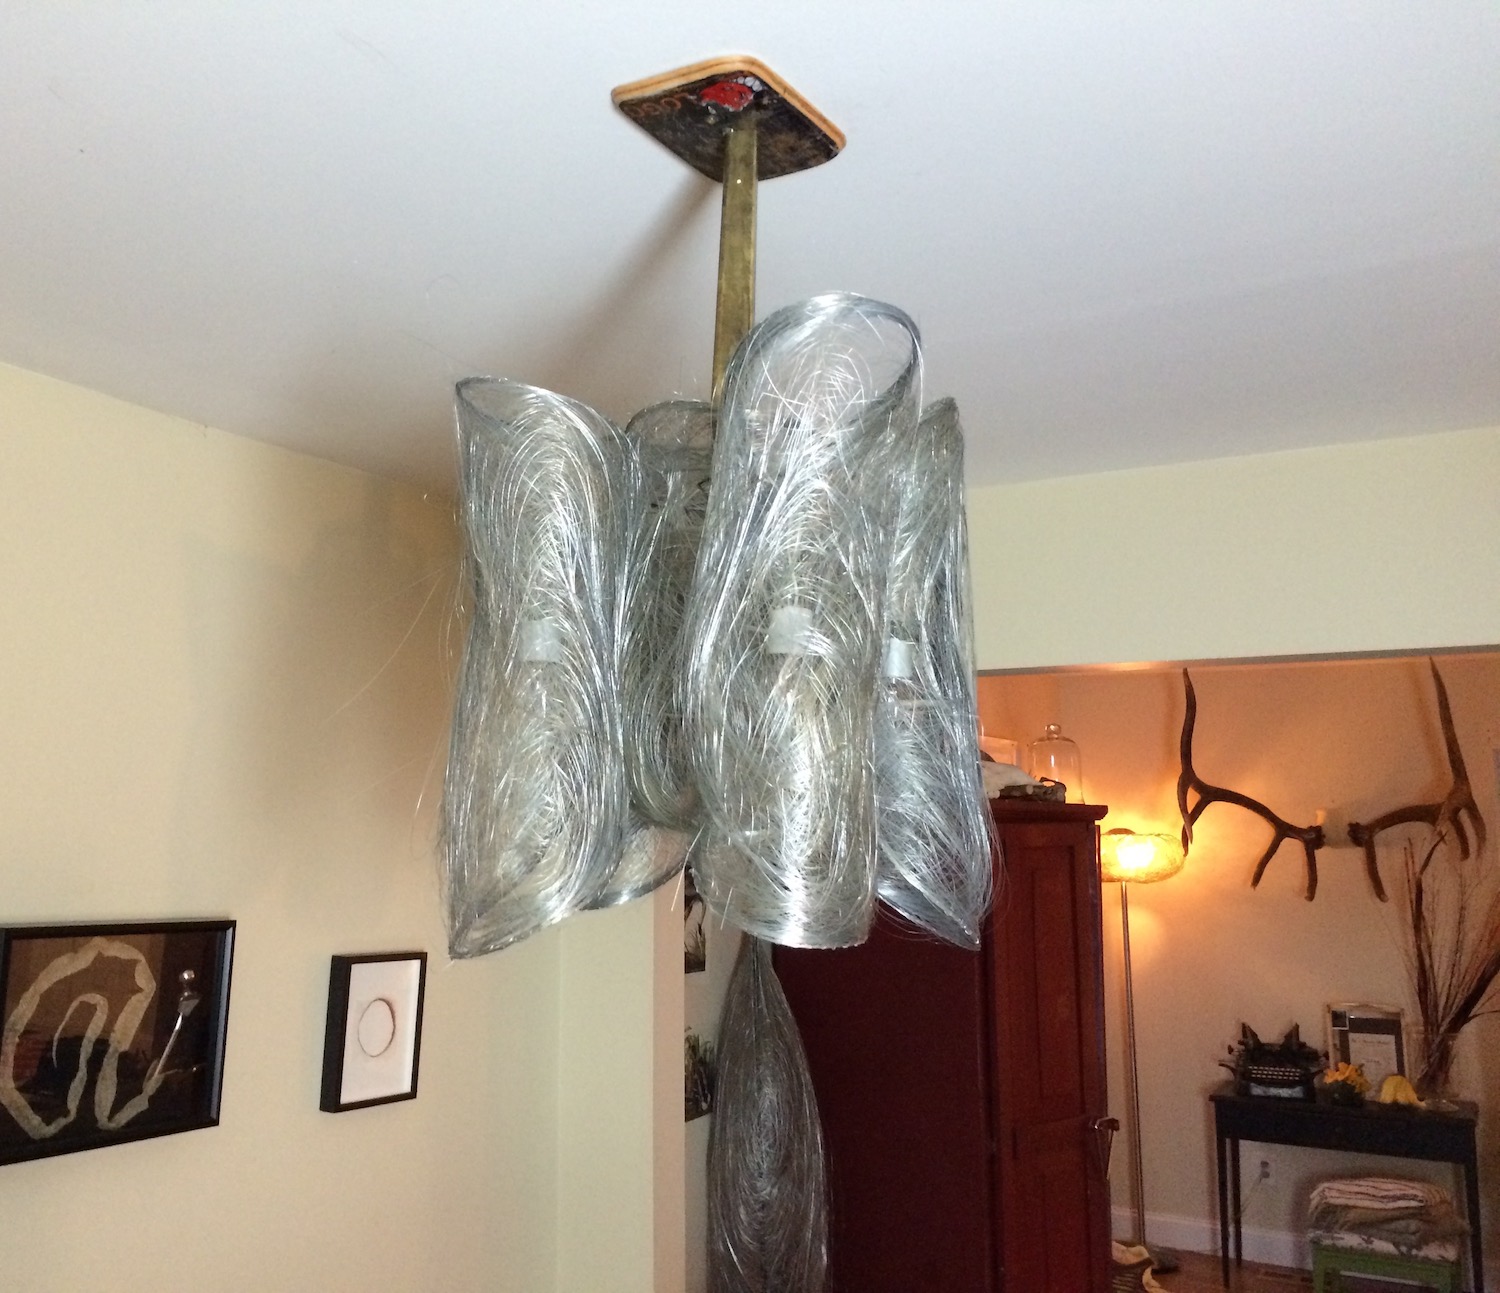
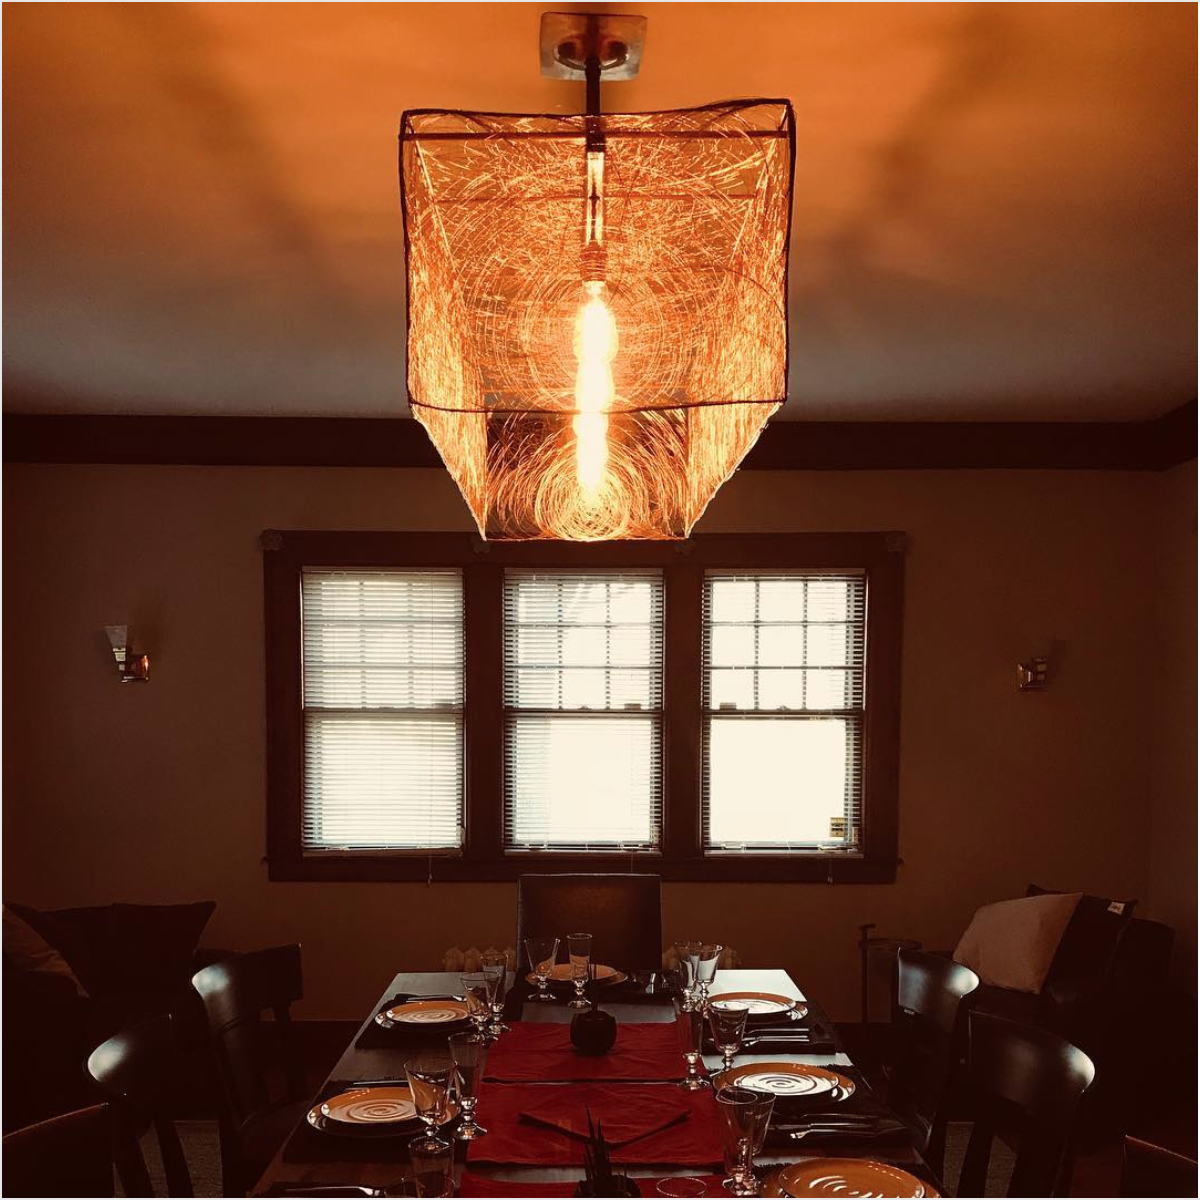
My first custom chandelier was actually one of my first lights of any kind, and it hung over our dining room table for a long time. Looking closely you can see that the EDM wire I used is much more gray than the shiny silver stuff I currently use. That’s because it had been run through the EDM machine and dumped at the recycle center where I found it. It was basically very dirty. It also incorporates way more wire than I would use on a similar design, today.
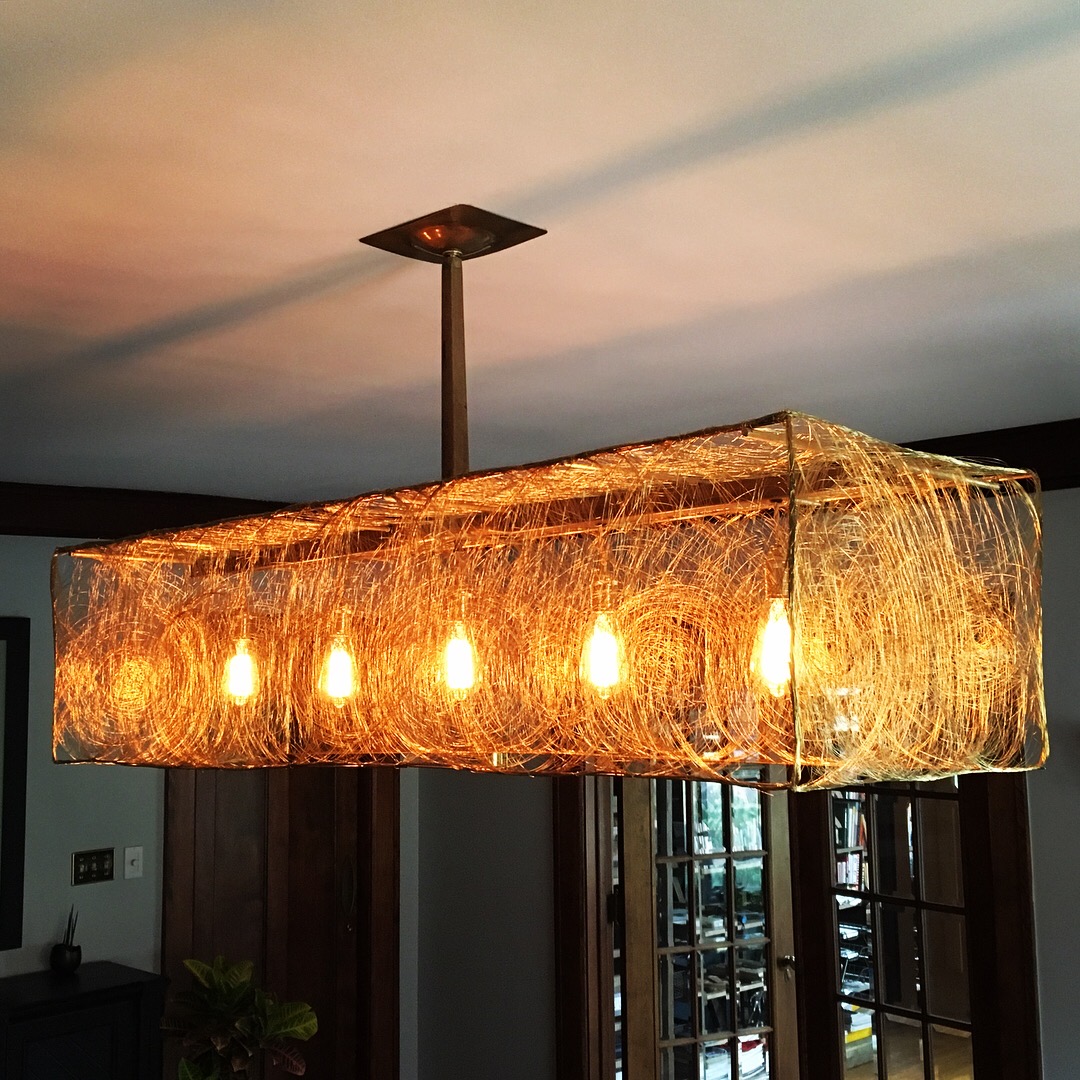
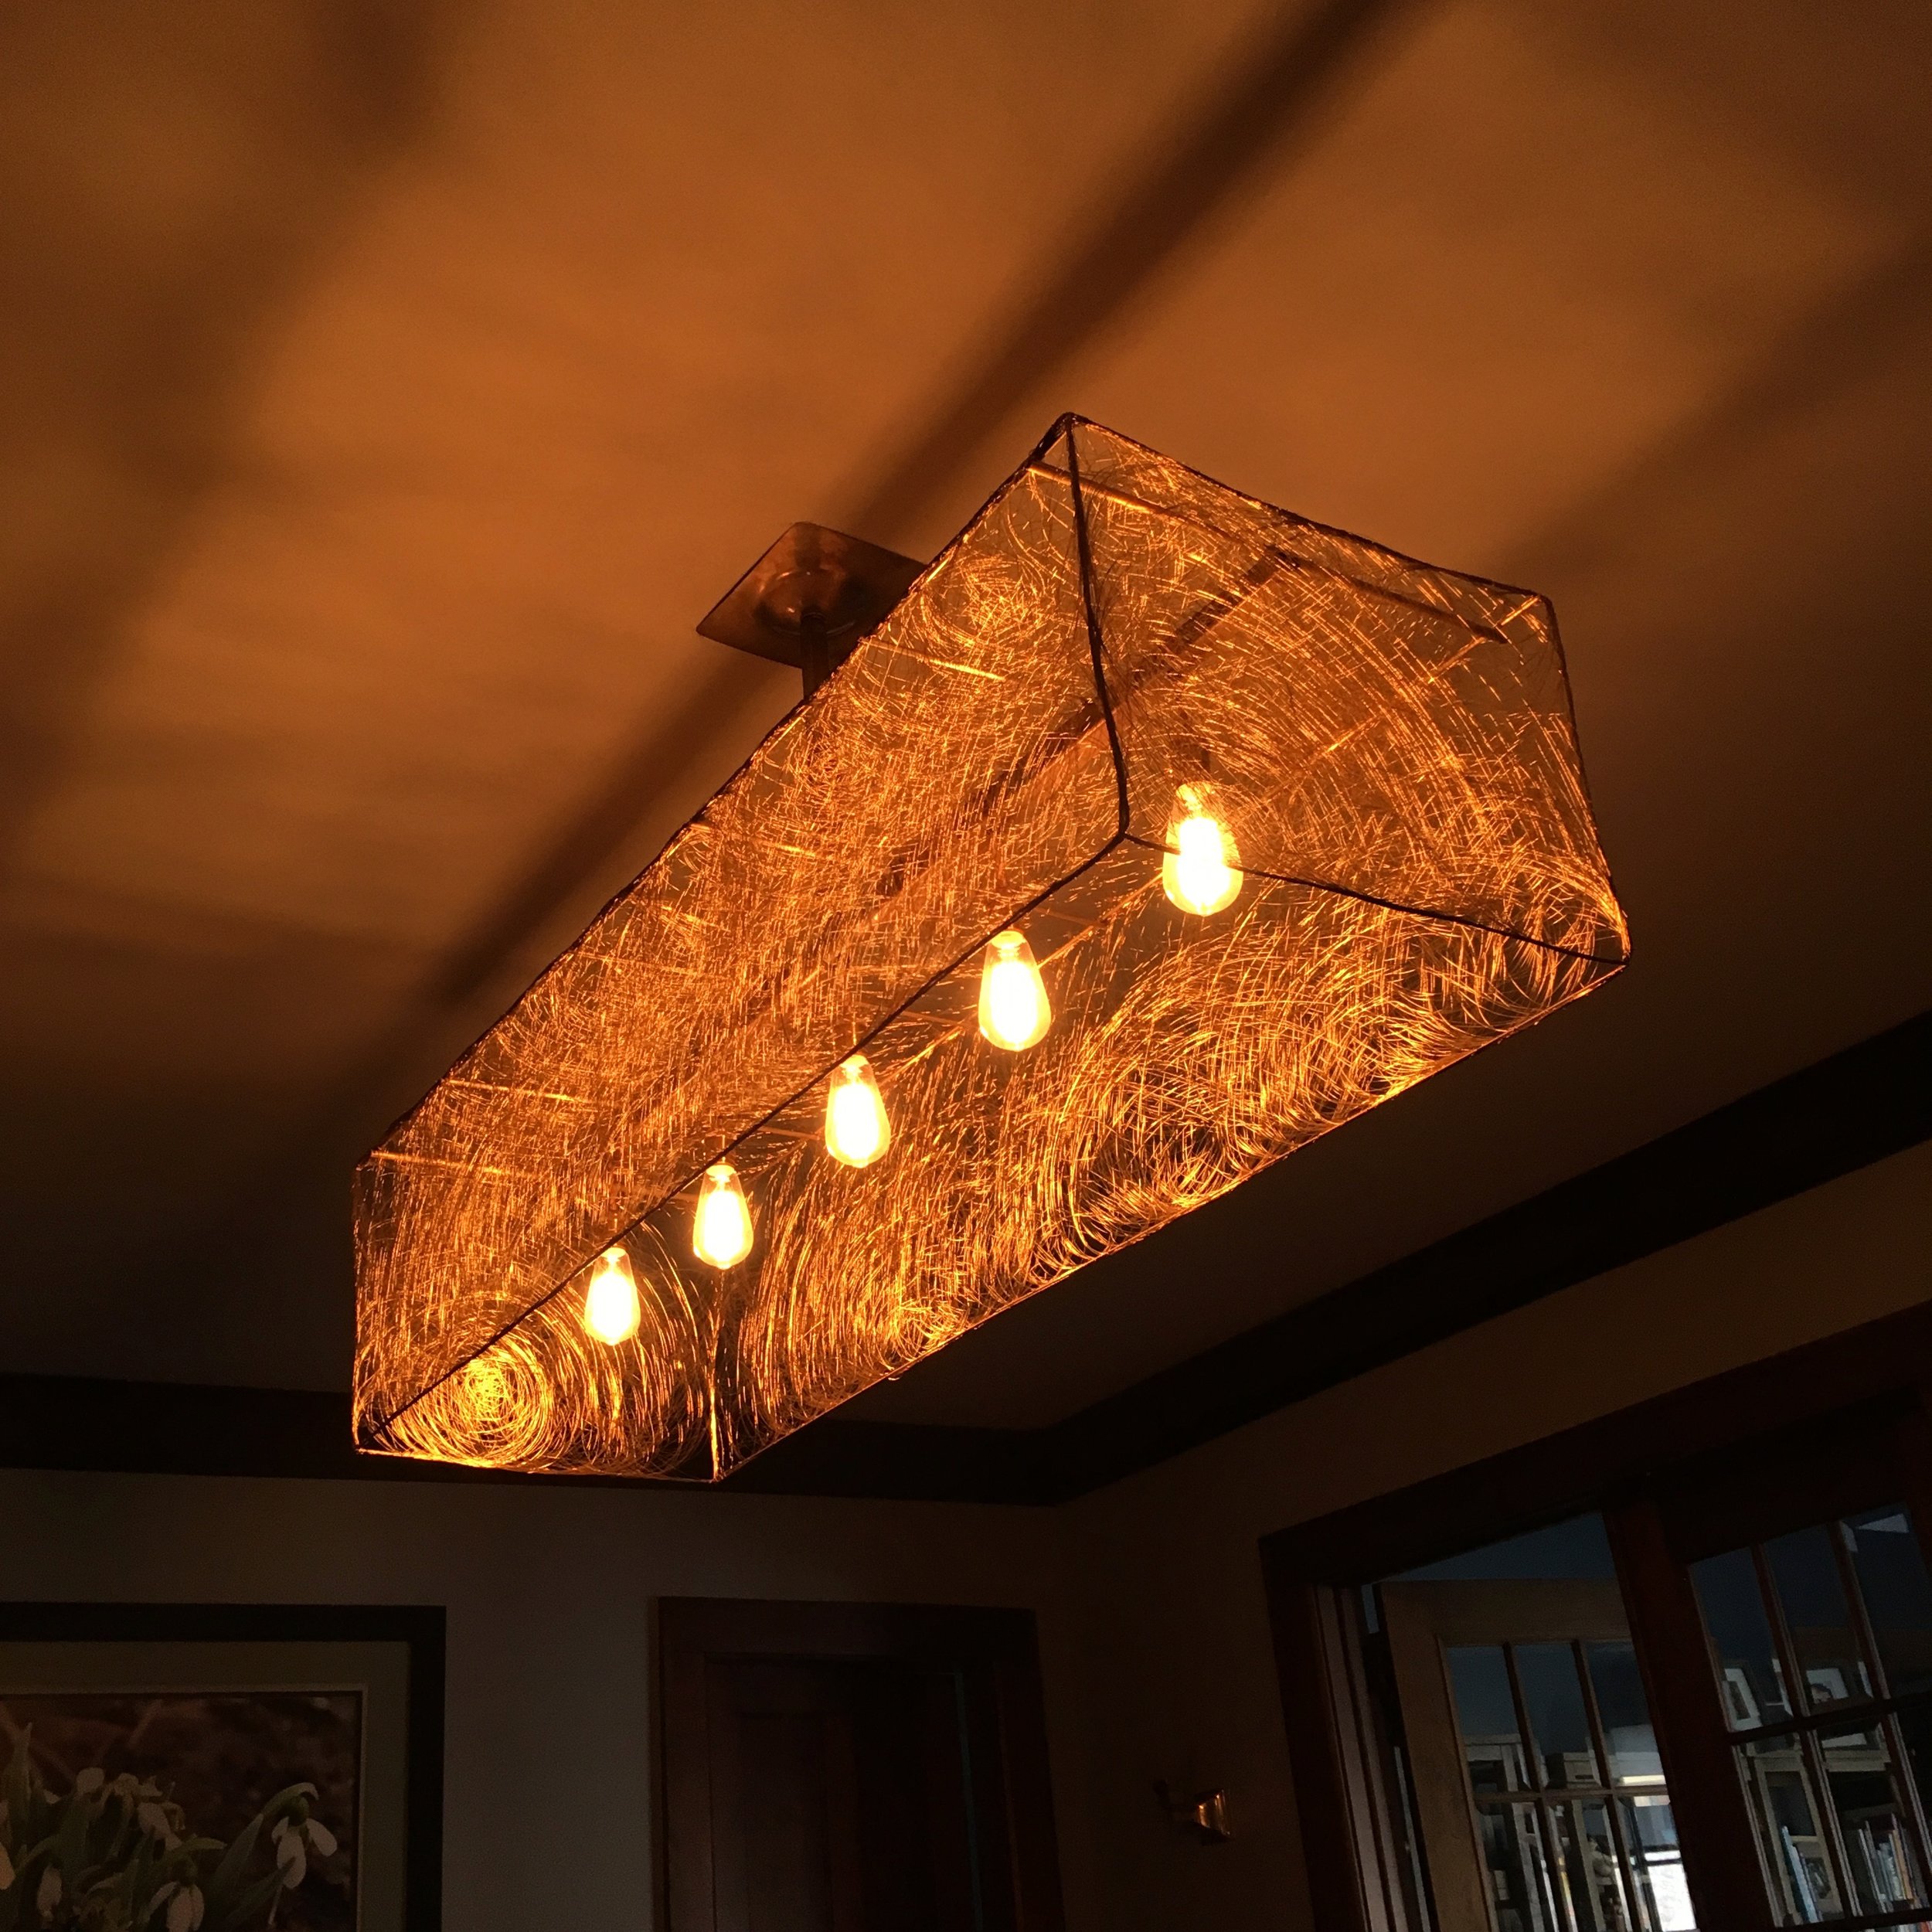
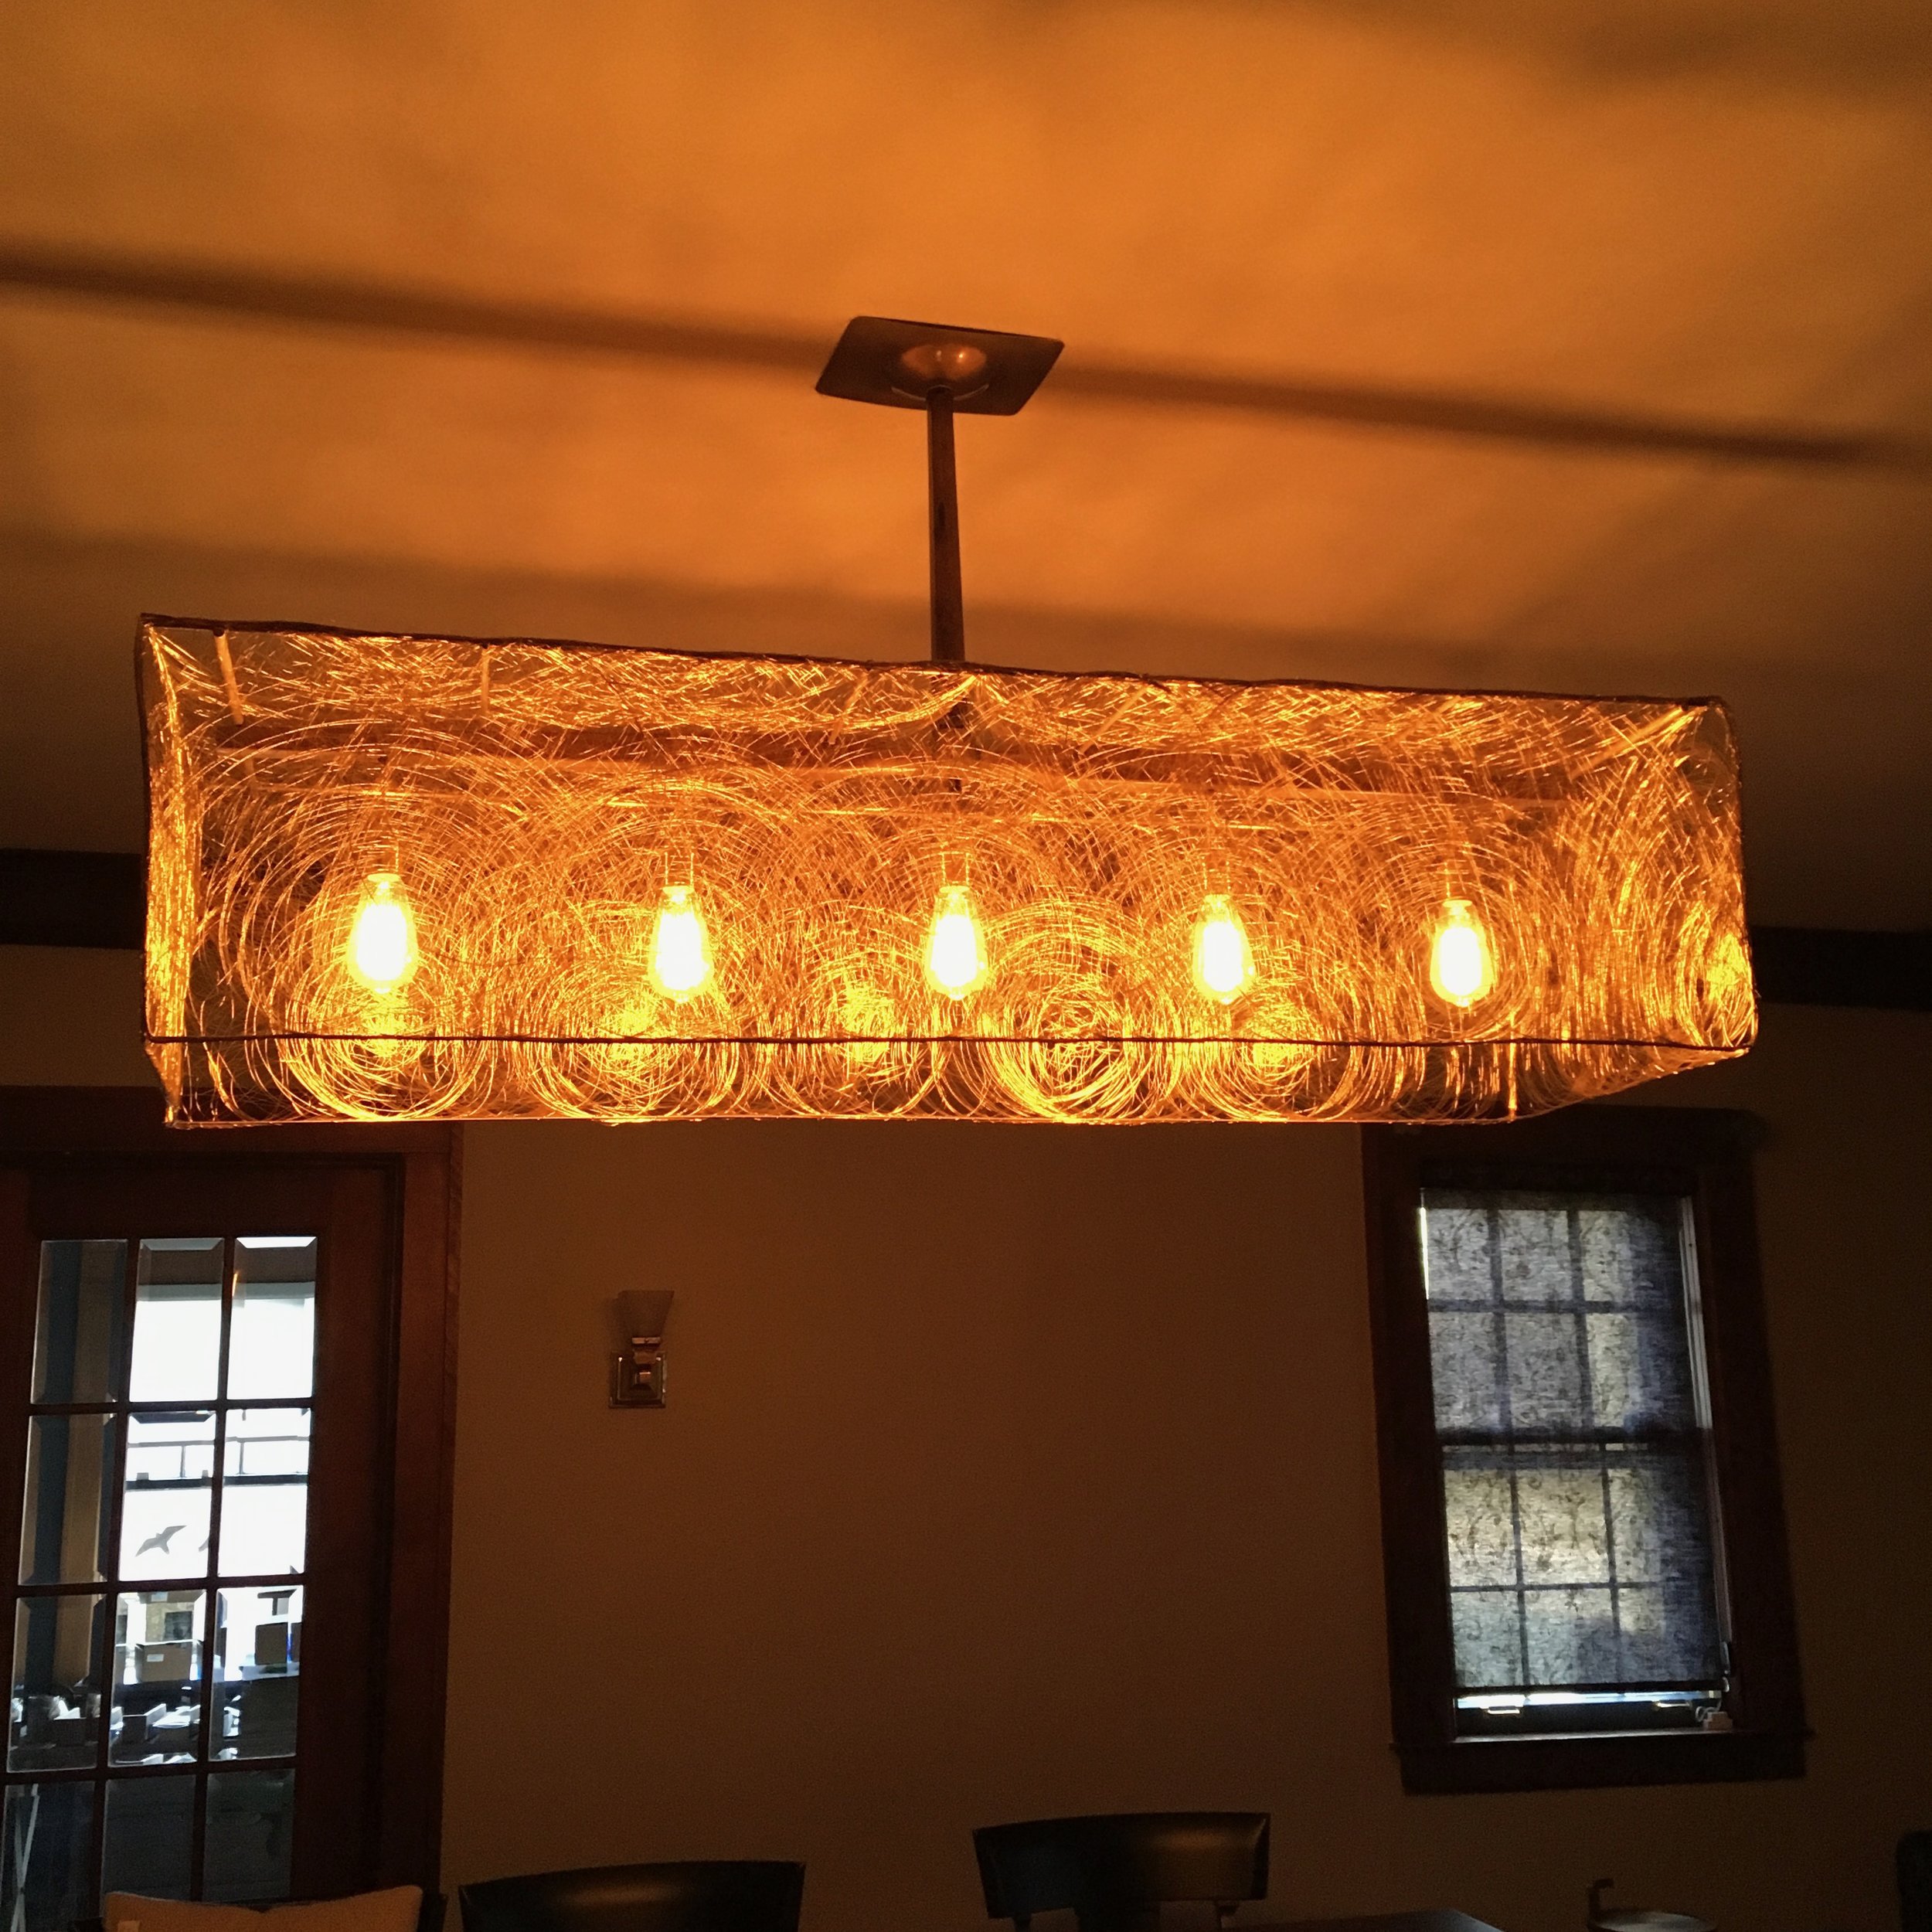
My second chandelier is probably my favorite, and I’m calling it my “Boston Edison” style, because I made it for a home in Detroit’s historical Boston Edison neighborhood. The concept was simple; a long box shape whose four sides and top are panels — woven mats, really — of yellow brass wire. The challenging part was figuring out how to put it all together. My neighbor had given me four old brass table legs, and I put three of them to good use on this project. I used them to create an inverted T shape, joined in the center by some one-inch plumbing pipes, which remain hidden. Holes were drilled in the soft brass to run wires, and there are five bulbs total, providing ample dining room light, and complimenting the long rectangular table over which it hangs. You’ll also notice the use of a Zildjian cymbal for the ceiling plate. Being a drummer, I usually have a cracked cymbal or two laying around, and they have become sort of a trademark of my style wherever “upcycling” is involved. In addition to ceiling plates for pendants and chandeliers, I have used them as bases for table and floor lamps.
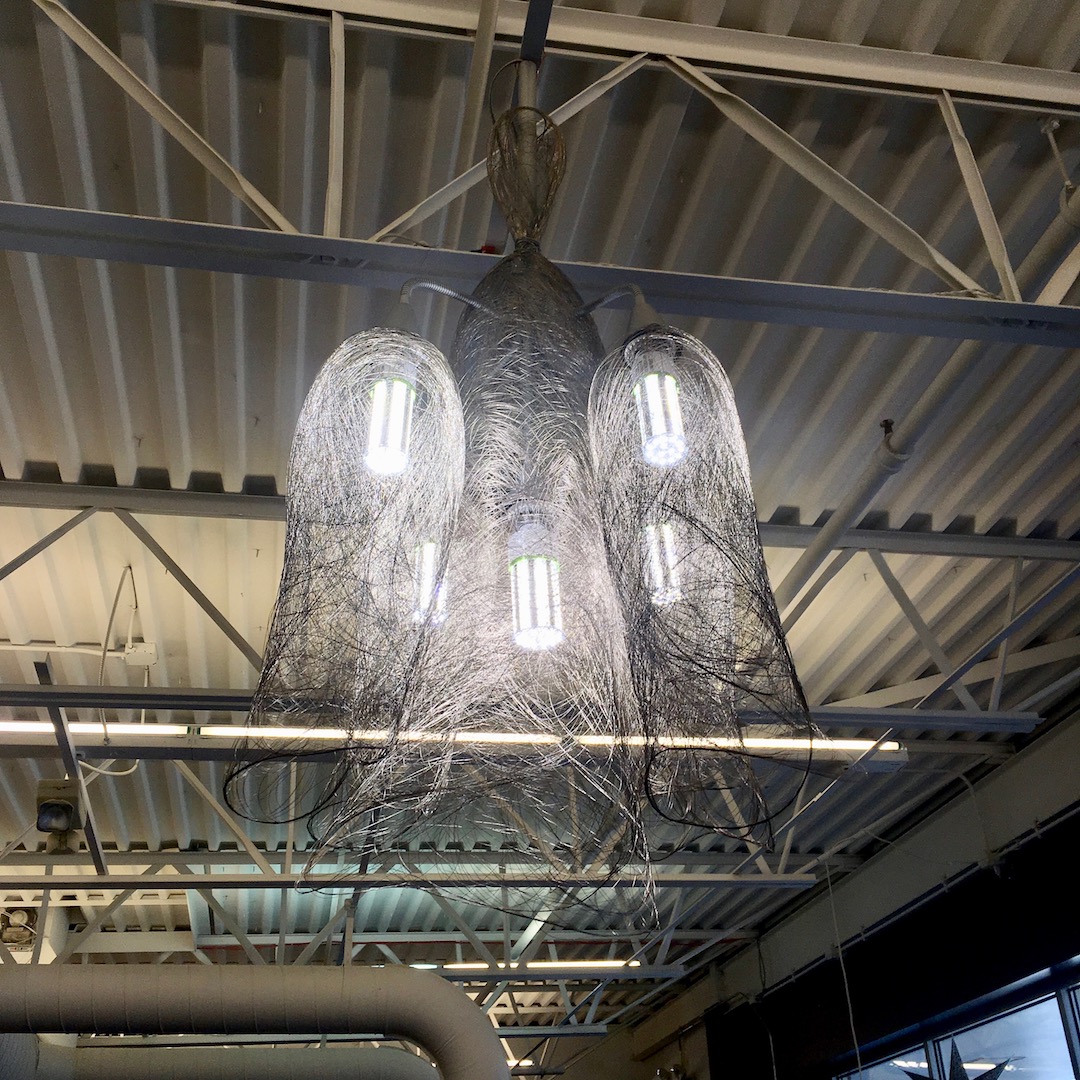
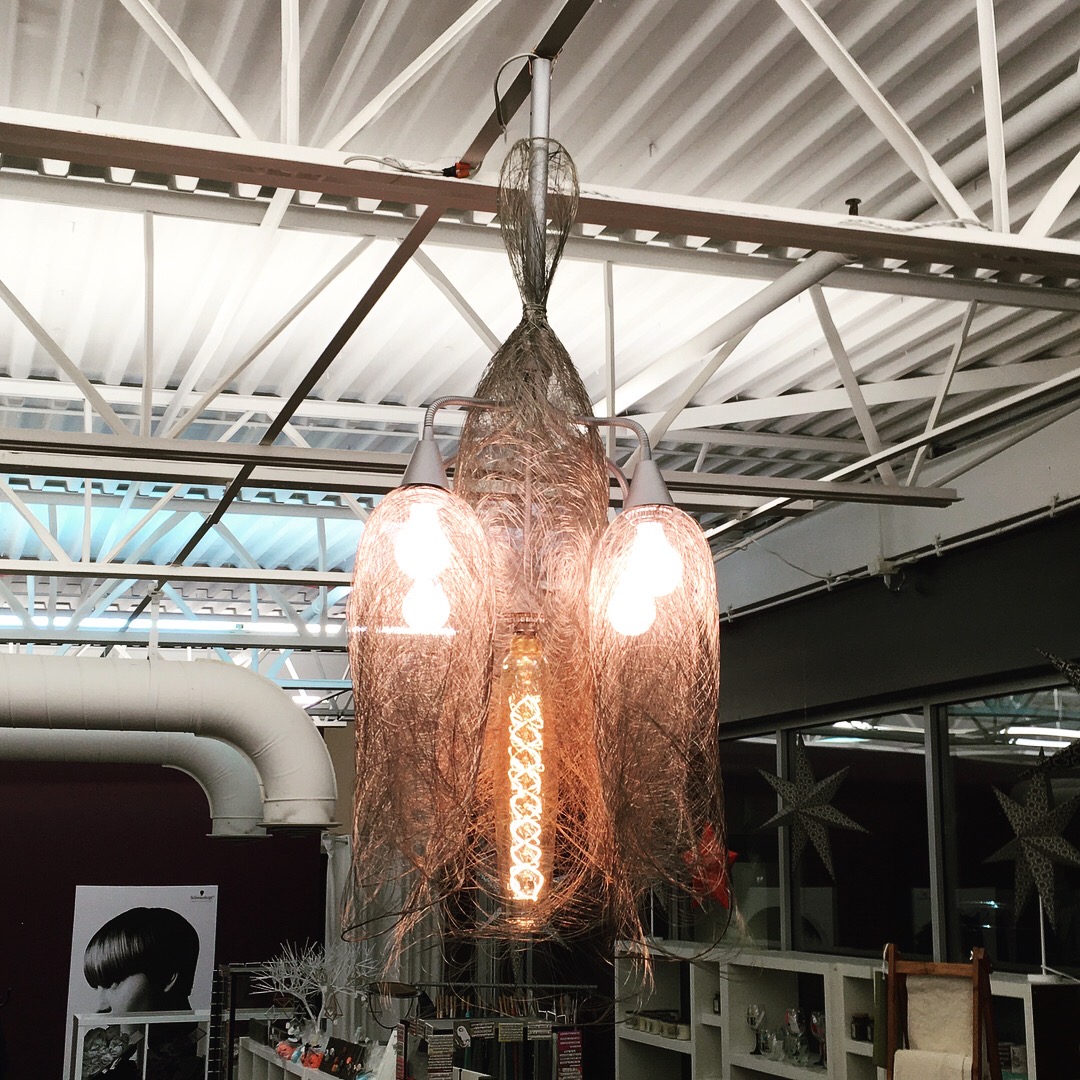
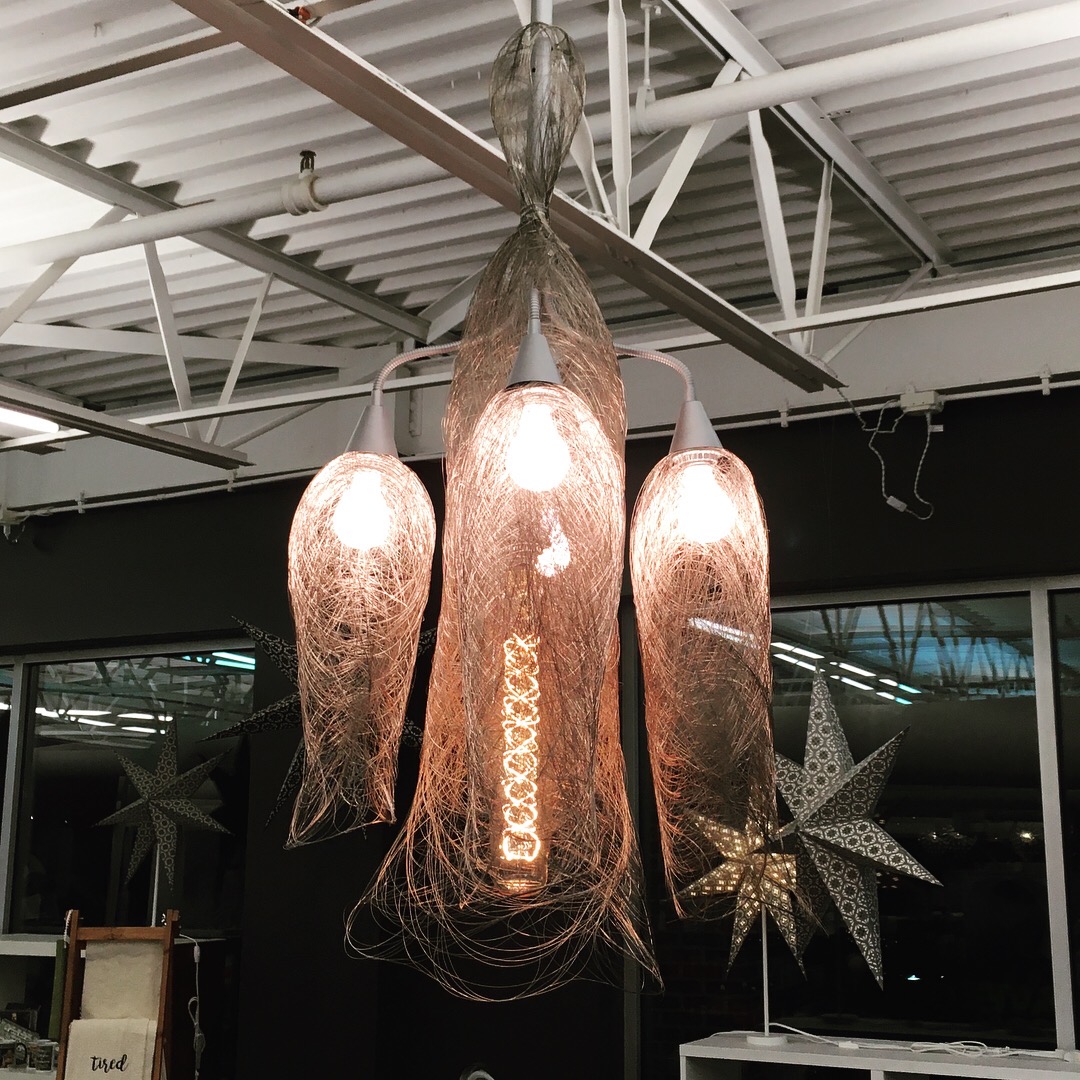
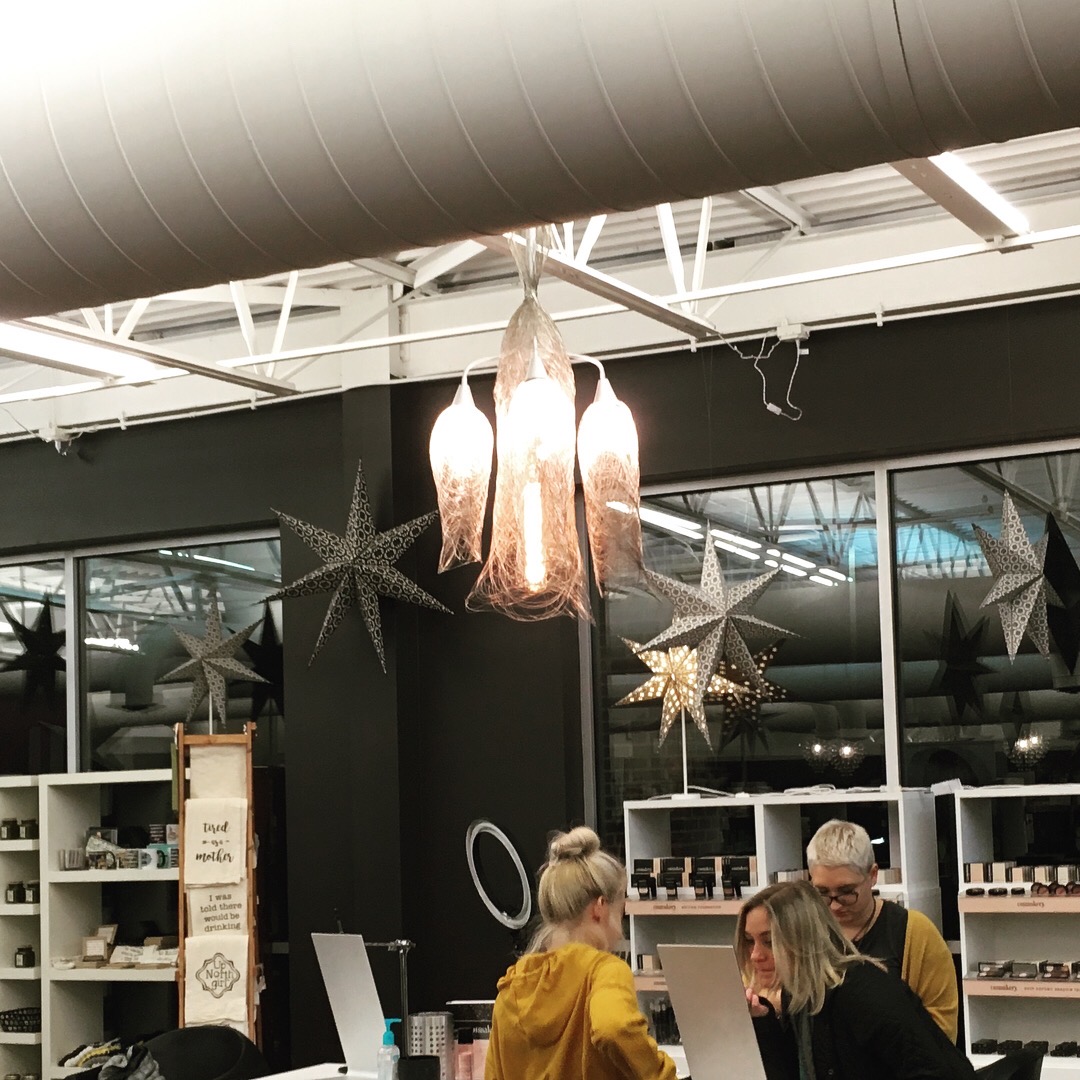
For my third custom chandelier I finally got to make use of one of those five-bulb floor lamps people are always throwing away. These have about 18 inches of flexible metal conduit connecting each socket to the main body of the lamp. After removing the long main tube, I was left with a Medusa-like five-socket cluster as a starting point for my chandelier. My client, One Salon, in Novi, Michigan, was very happy with the final result, especially after changing the light bulbs from my original edison bulbs to LEDs. Check out the difference between the two!
My fourth and most recent chandelier is probably my coolest. My original idea was to swag six wired sockets out and away from a center junction box, which would have required no hardware at all except for the ceiling plate and a nut to hold it in place. Then I got to thinking . . . and before I knew it I was designing hardware in my mind, then in real life. This project came to me just as I came off a month or so of building sculptures from carbon fiber arrows, and I couldn’t get those arrows out of my mind. The large diameter arrows I used for this chandelier are actually aluminum, not carbon fiber, but they are strong enough to support the relatively lightweight wire balls without bending. And the inside diameter of 3/8 in. was perfect for accepting the standard threaded conduit commonly used for lamps and chandeliers. The most difficult thing about this build was making sure all seven balls were hanging at the desired length, and that each bulb was centered in each ball. Maintaining balance was not that big of an issue. I simply made three weight-matched pairs of balls, and hung each ball directly across from its counterpart. The balls have no opening on the bottom, but are easily removed without tools when it comes time to change the bulbs, thanks to a handy little three-spoke doohickey I came up with, which I will describe in another post.
I said earlier I don’t spend a lot of time “chasing chandelier business,” but that was a lie. I chase all business. If you or someone you know needs a really cool custom chandelier, don’t forget about Brightwire Designs!


